My process of building a masking tape sculpture was quite enjoyable. I liked playing with the tape and working it into different ways. It was defiantly interesting having the freedom to do whatever 3D form we wanted. I decided to create a Tee-Pee that in the end used 4 rolls worth of tape. I wish that I had thought about what I was going to do a bit more, as I feel that I could have crafted something more creative than a tee-pee. Overall I was very happy with the way it turned out.
In my piece I displayed many uses of the elements and principles of design. I certainly used a lot of pattern in this piece. The sidings of the tee-pee all have their own individual pattern on them. I also found there to be a lot of balance in this photo, with the 5 pillars coming to one point, and the actual symmetry of the piece. I felt that I used a lot of physical texture, as the sidings had the boxes that physically popped out, as well as the carpet on the base of the tee-pee how it is elevated higher than the base. In order to create form in this piece I had to use many layers of tape, such as the base, and the sides. This heavy use of tape made these parts strong and stable to give a lot of shape and form to the final piece.
Starting- Used a lot of tape on the base (1.5 rolls).


Process Photo- I feel that this side of the tee-pee is very unique as it uses a great sense of line. This photo doesn't give a good idea of the line work used but the tape is in a pattern that looks like the suns beams, as they go out. This side uses a focal point of the circle in the middle and this line work moves the viewers eye to the next side.
In the photo below you can see the physical texture of the piece with the curing line. I enjoyed the line work of the zig-zag pattern down the middle of the side.
These pillars are almost taped like a hockey stick, and I feel that this makes the sticks look more decorated, than plain wood.
Picture on the right is the making of the side, and the photo on the left is of the siding on the final piece.
Final Product
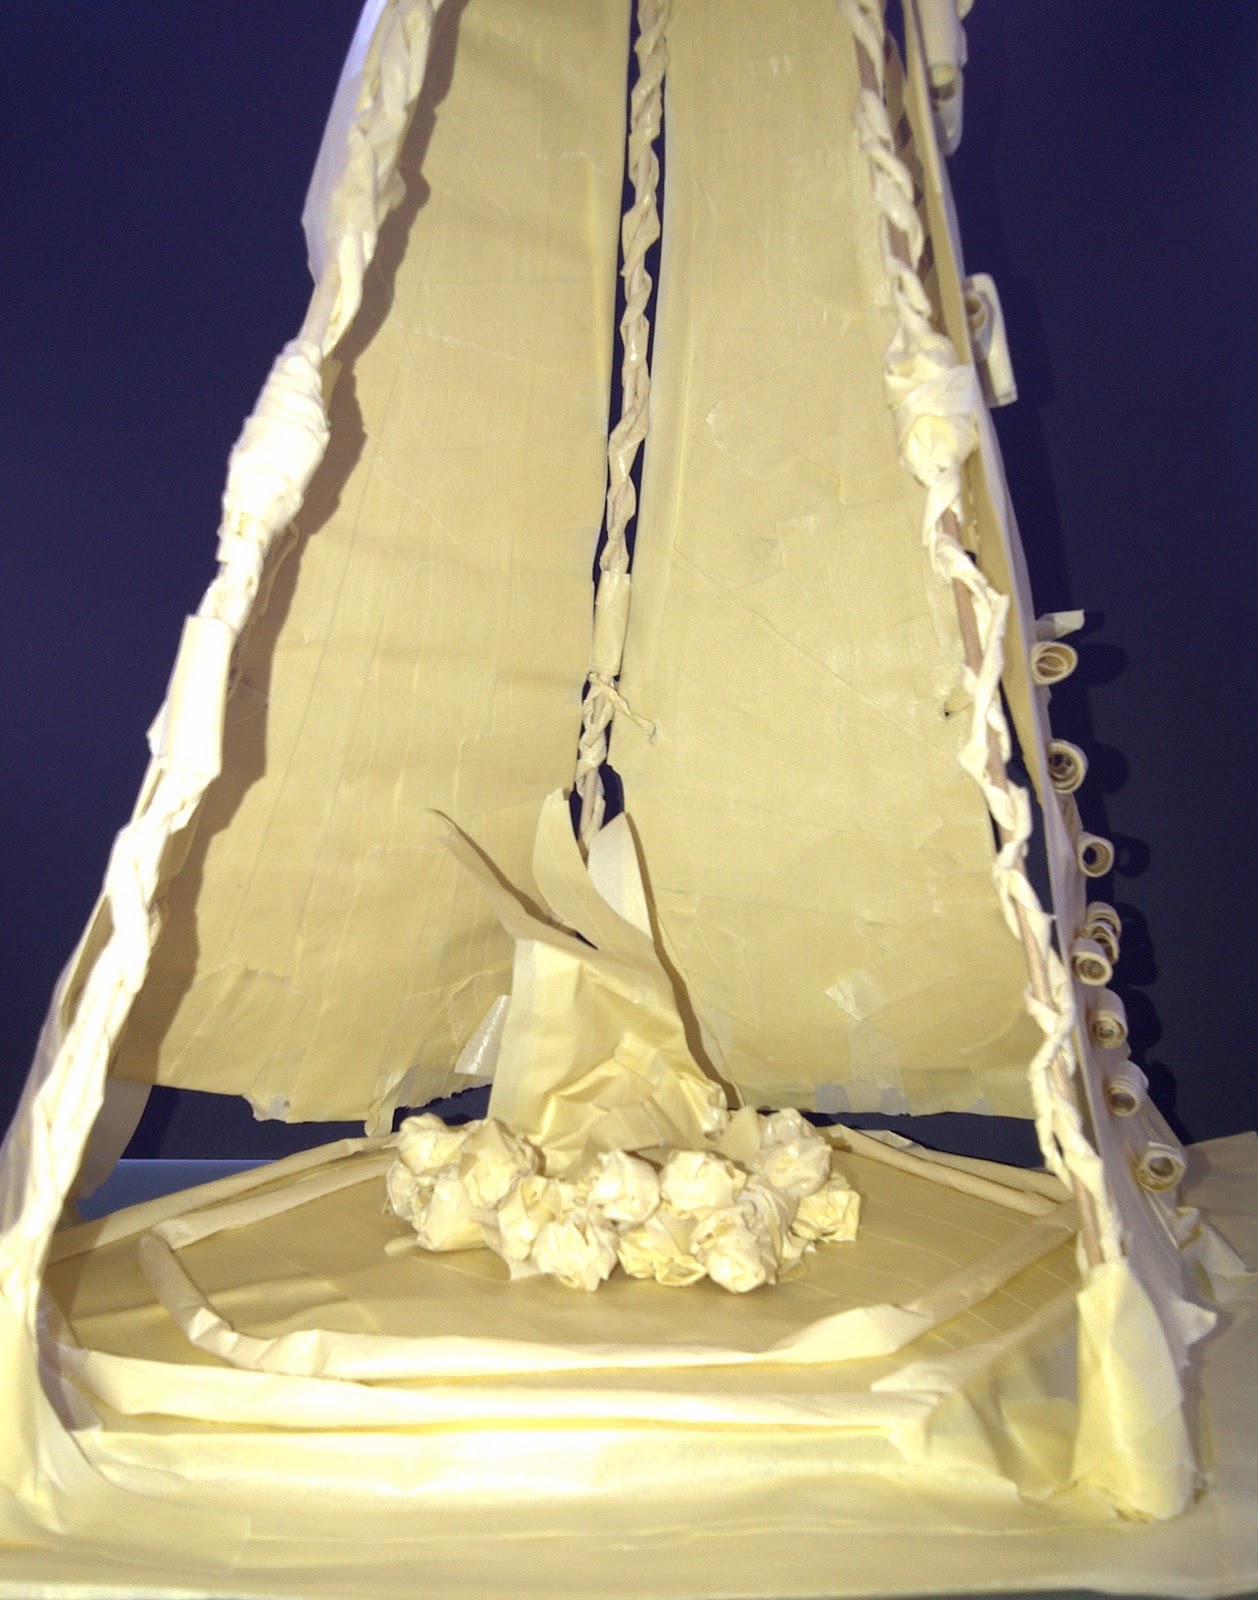
The final piece, showing the raised carpet, rocks around the fire, and the inside of the tee-pee.